How to Use Vaginal Dilators
Introduction
What are vaginal dilators?
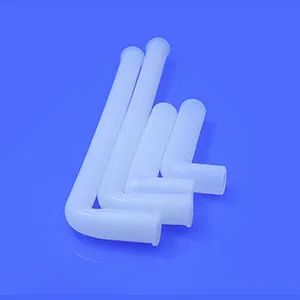
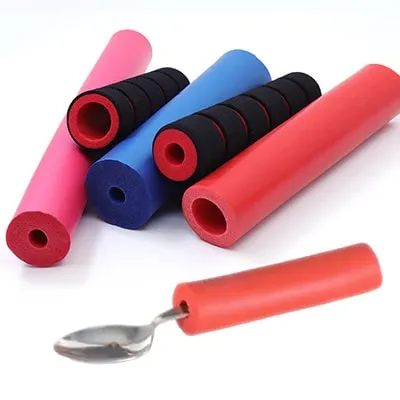
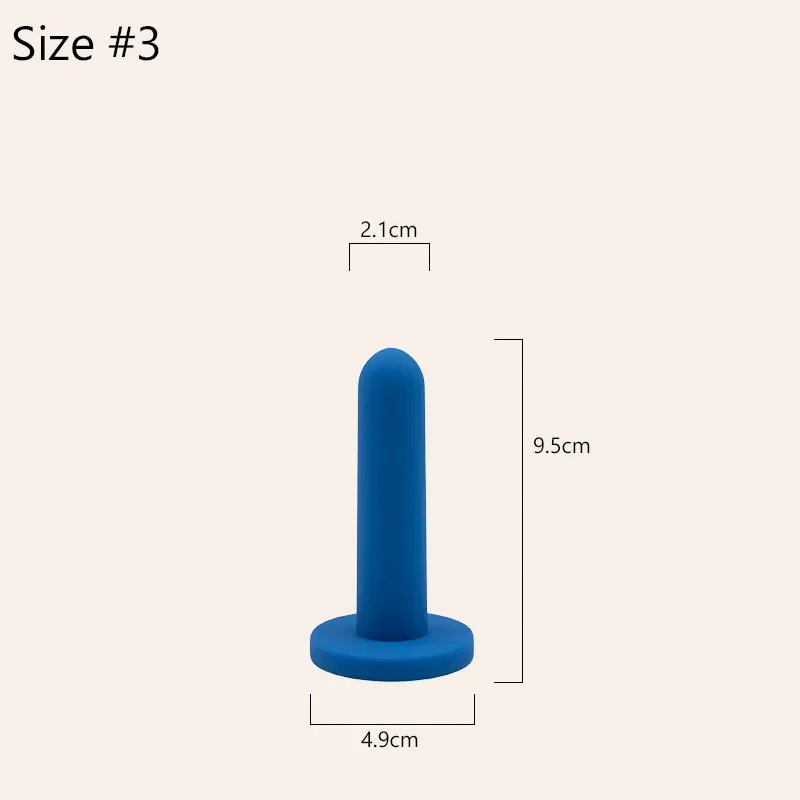
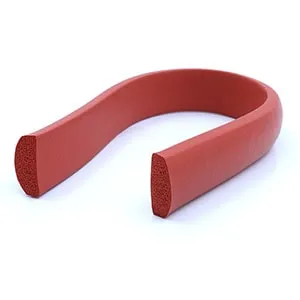
Vaginal dilators are smooth, tampon-shaped devices designed to help your body gradually tolerate comfortable insertion and gentle stretching of vaginal tissues and the pelvic floor muscles; they’re often sold in sets that range from very small (sometimes close to the width of a finger) to larger sizes so you can progress over time at a pace that feels manageable. People sometimes call them “vaginal trainers,” and the goal isn’t to “force” the body open—it’s to create a predictable, calm practice where your brain learns “this is safe,” your muscles learn how to soften instead of guard, and your tissues gradually regain elasticity. If you’ve ever searched “vaginal dilators how to use,” you’ve probably noticed that the instructions can feel clinical or vague; this guide will keep things practical while staying aligned with the kind of gentle, step-by-step approach many pelvic health clinicians use.
What are silicone vaginal dilators used for?
Silicone vaginal dilators are commonly used when penetration is painful or difficult—whether that’s intercourse, tampon use, or a pelvic exam—because soft, medical-grade silicone tends to feel smoother and slightly more forgiving against sensitive tissue than rigid materials, which can make early sessions less intimidating for some people. Clinical guidance commonly describes dilators as one tool that can help with painful or difficult penetration by supporting gradual tissue tolerance and pelvic floor relaxation—often alongside pelvic floor physical therapy, depending on the underlying cause.
How long do vaginal dilators take to work?
How long vaginal dilators take to work depends on what you’re treating, how consistently you practice, and what else is going on in your body—like pelvic floor muscle guarding, hormonal dryness, scar tissue, or anxiety—so it’s best to think in terms of “weeks to months” rather than days. Some people notice early wins quickly, such as reduced fear, easier insertion of the smallest size, or less burning at the entrance, while others need more time before size progression feels realistic, and that’s still progress because tolerance is built through repetition and safety cues. In a vaginismus context, the Cleveland Clinic’s vaginismus overview (2025) notes that improvement with combined approaches (like pelvic floor therapy, talk therapy, and dilation) may take several weeks to months, which is a helpful benchmark: if you’re doing the work and it feels slow, that’s not a sign you’re failing—it’s often simply how nervous systems and muscles relearn.
What is vaginal dilator therapy?
Vaginal dilator therapy is a structured practice of using progressively sized dilators, usually with lubricant and relaxation techniques, to help reduce pain and increase comfort with insertion over time; it’s commonly used as part of a broader pelvic rehab plan rather than as a standalone “fix.” The therapy works on two tracks at once: a physical track (gentle stretching and improved tolerance of pressure) and a nervous-system track (teaching your body to respond to insertion with relaxation instead of an automatic protective clamp). When people ask “how do you use a dilator,” the most important part of the answer is that dilation is meant to be calm, controlled, and repeatable—more like retraining a muscle and stress response than “testing your limits.”
When to do vaginal dilator therapy?
The best time to do vaginal dilator therapy is when you can be unhurried and feel relatively safe in your body—often after a warm shower, before bed, or at another quiet time when you’re not rushing to the next task—because stress and time pressure can make the pelvic floor tighten without you realizing it. If you have active infection symptoms, unexplained bleeding, severe pain, or you’re postpartum or post-surgery and not yet cleared by your clinician, the “when” should come from a personalized medical plan, because timing can matter for healing.
How to do vaginal dilator therapy?
How to do vaginal dilator therapy is less about a single perfect technique and more about following a consistent sequence—prepare, relax, use generous lubrication, insert slowly within your comfort, breathe and let your muscles learn, then stop while the experience is still tolerable so your brain files it as “safe.” The practice usually starts with the smallest size that you can insert with minimal discomfort, and then you gradually work up through larger dilators as your body allows; moving too fast often backfires by reinforcing guarding, especially for people learning how to use dilators for vaginismus where fear and involuntary muscle contraction are part of the cycle. A practical way to think about “how to use dilators successfully” is that the goal of each session is not size—it’s calm, repeatable comfort.
A realistic, repeatable dilator routine
In real life, “how to use dilators” often comes down to tiny choices that lower your threat response: choosing a position where you can relax your belly and jaw, starting with a few minutes of slow breathing, and using enough lubricant that friction isn’t mistaken as “pain.” During insertion, you pause at the first sign of tension, take a breath, and wait for the muscles to soften before going further, and once the dilator is comfortably in, you may hold it still for several minutes (some protocols also include very gentle movement) and then remove it slowly. Your progression—whether that means staying with one size for days or weeks, or moving forward sooner—is guided by comfort, not willpower, and if your discomfort is sharp, burning, or escalating, that’s information to slow down or consult a pelvic floor physical therapist for technique adjustments.
⚠️ Important: This guide is for general education. If you have severe pain, unexplained bleeding, signs of infection, are postpartum, or are recovering from surgery or cancer treatment, get personalized instructions from your OB‑GYN or a pelvic floor physical therapist before starting.
Quick safety checklist: pause and contact a clinician if you have:
-
Sharp, worsening, or tearing pain (not just mild pressure/stretch)
-
Bleeding that is new, heavy, or doesn’t quickly stop
-
Fever, chills, foul-smelling discharge, or other signs of infection
-
New pelvic/abdominal pain that feels unusual for you
-
Concerns about healing after delivery, surgery, radiation, or other treatments
If symptoms are urgent or severe, seek immediate medical care.
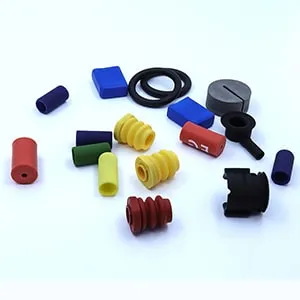
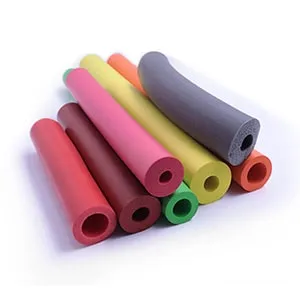
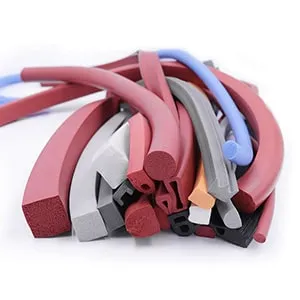
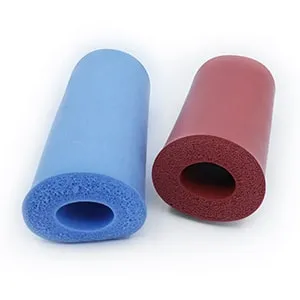
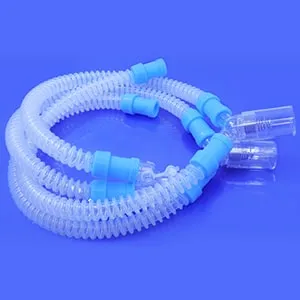
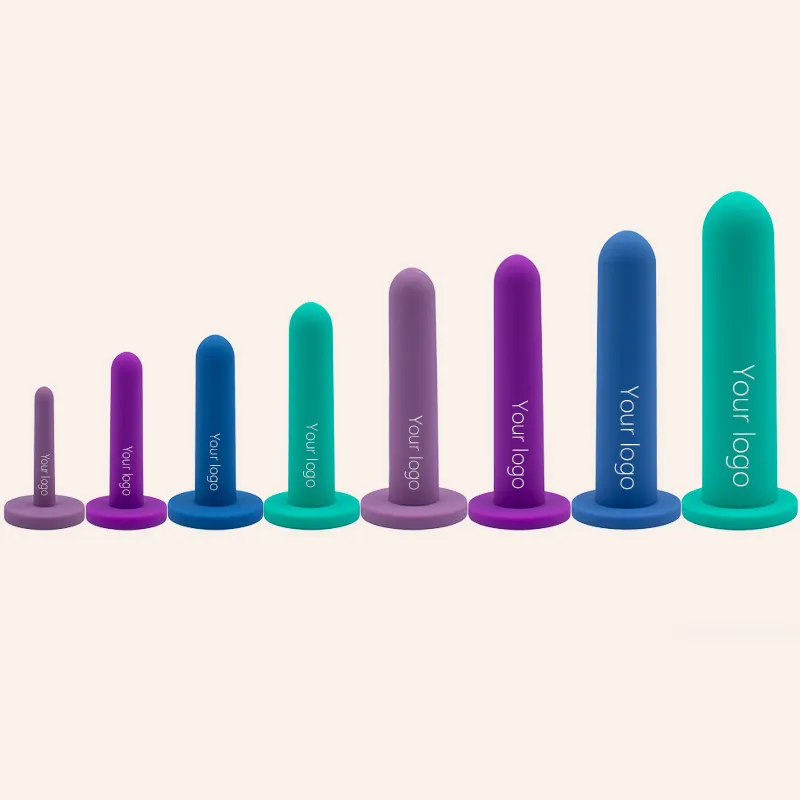
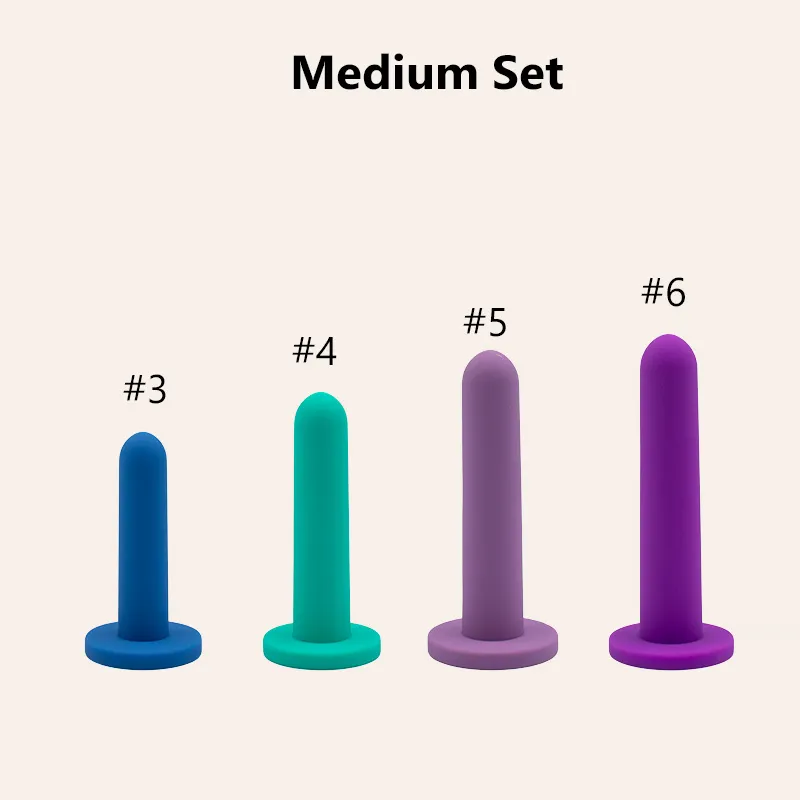
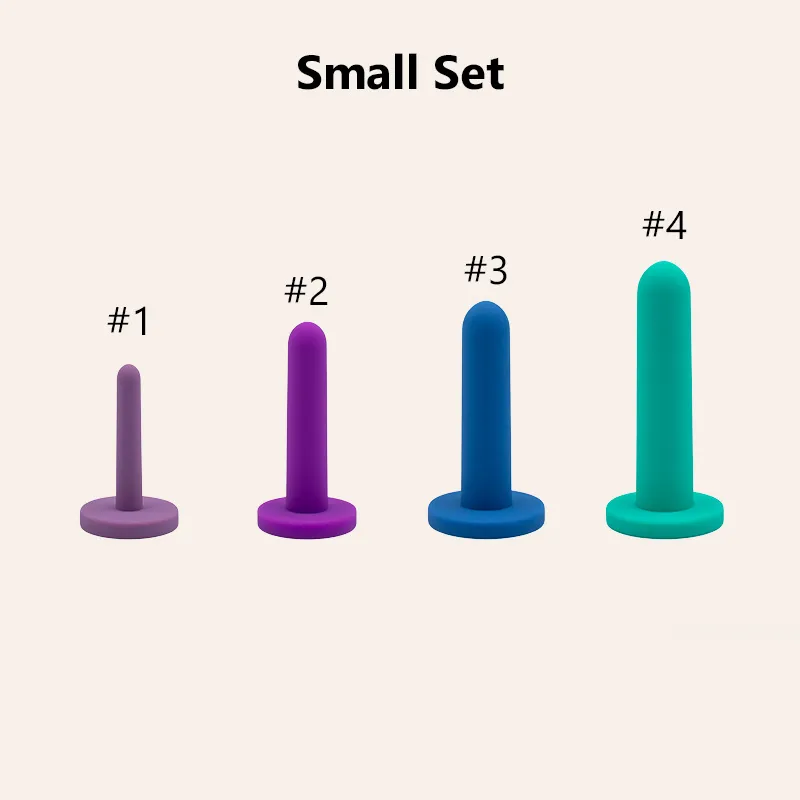
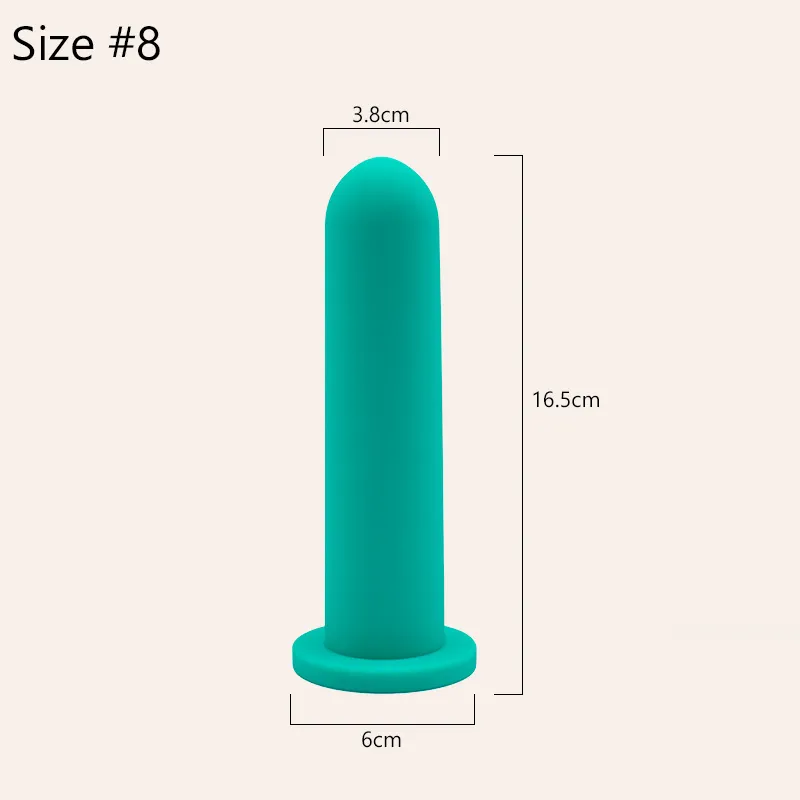
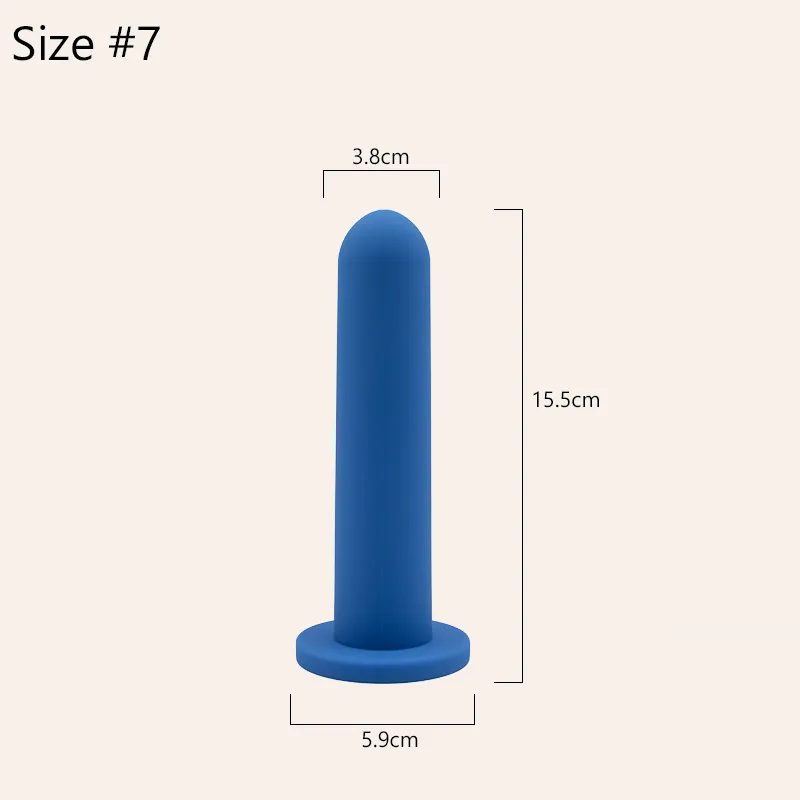
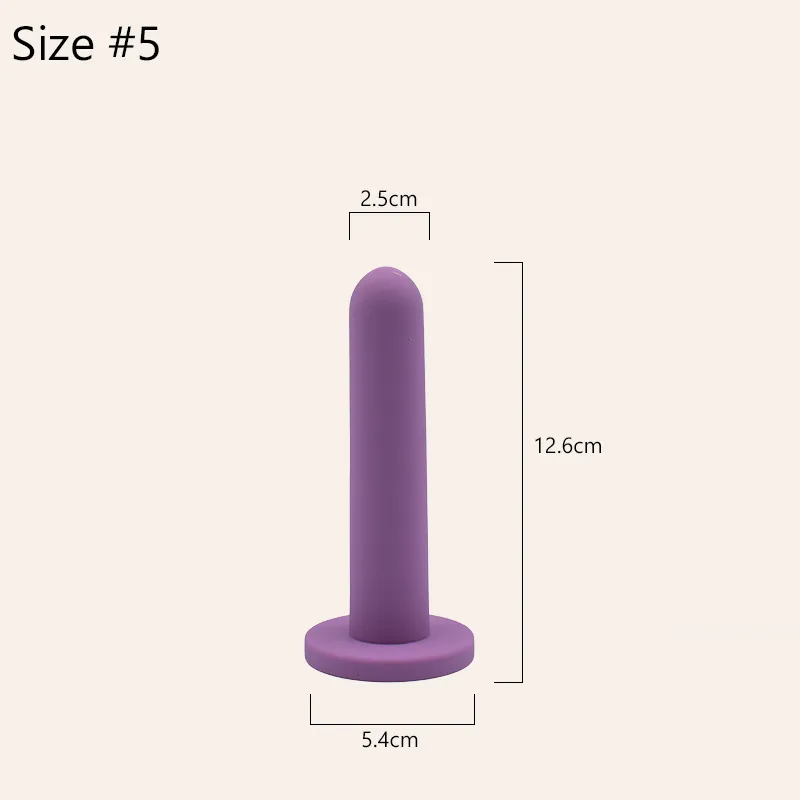
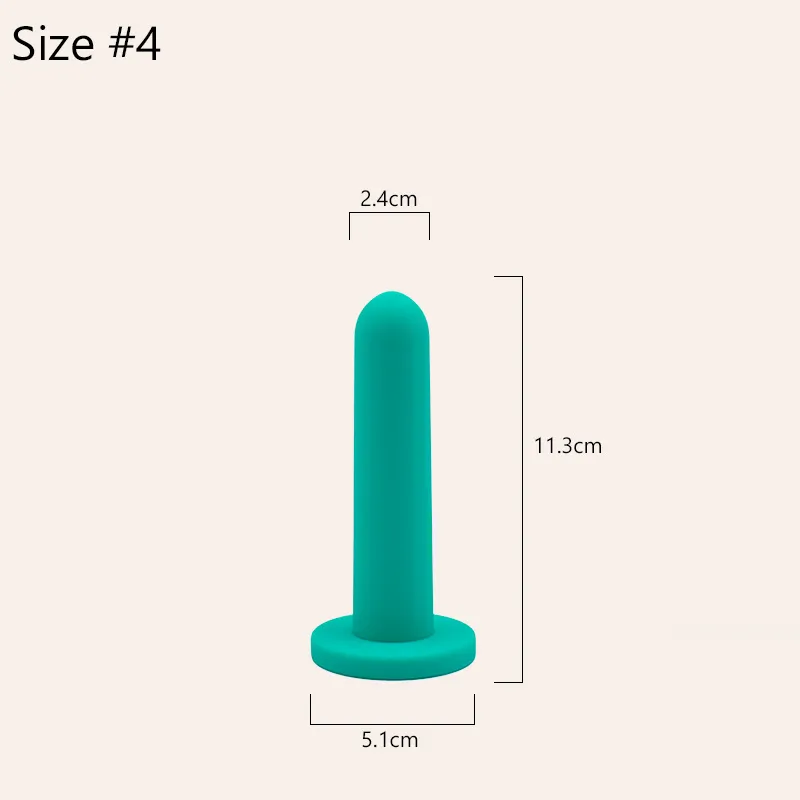
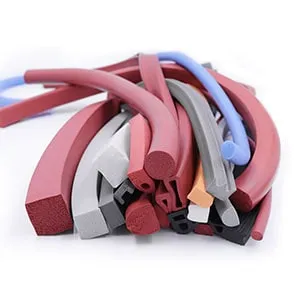
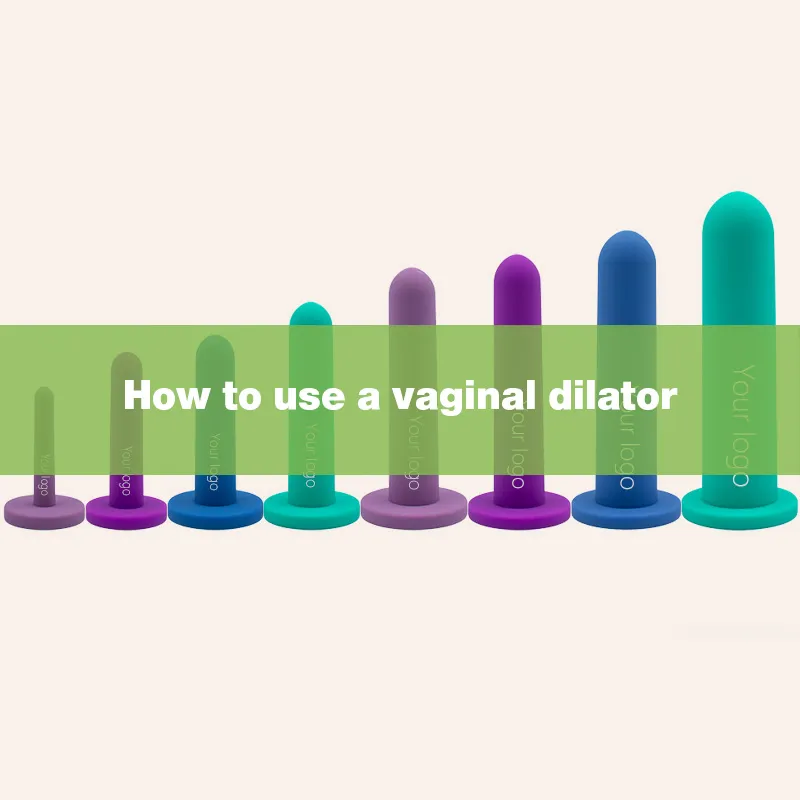
Types of vaginal dilators
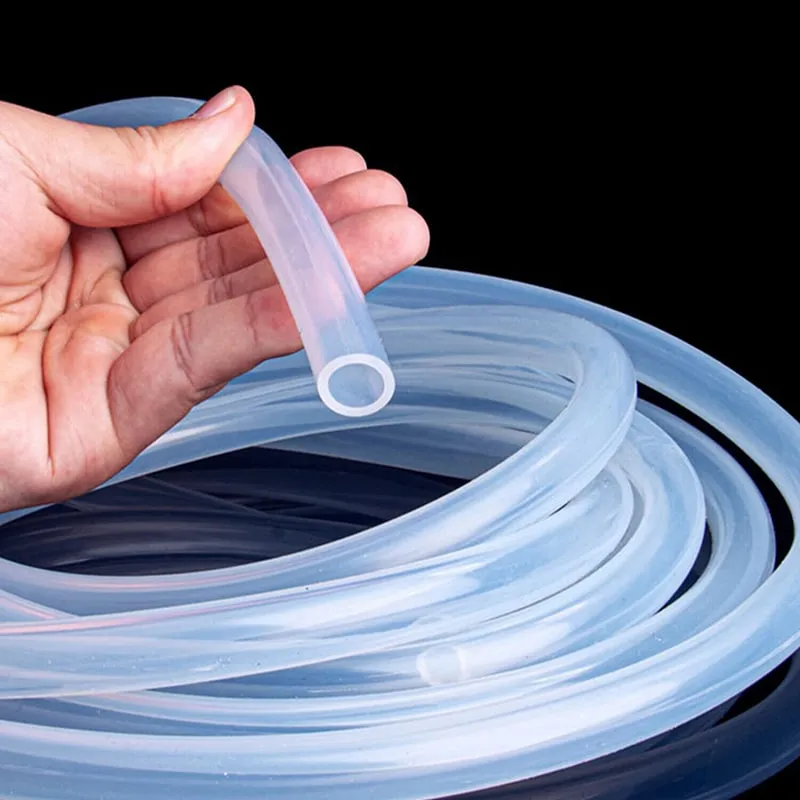
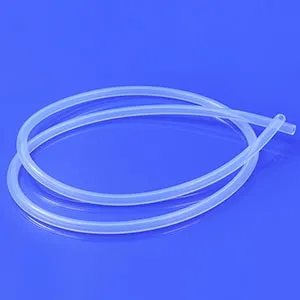
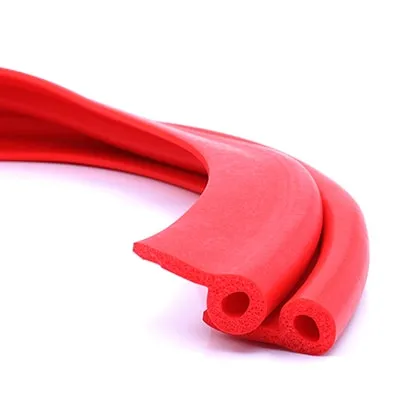
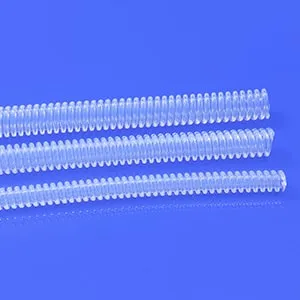
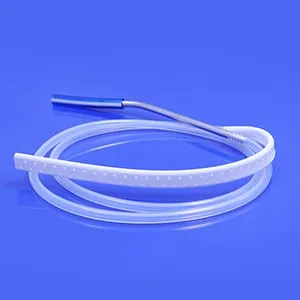
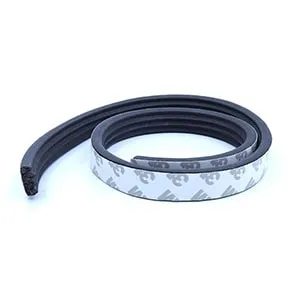
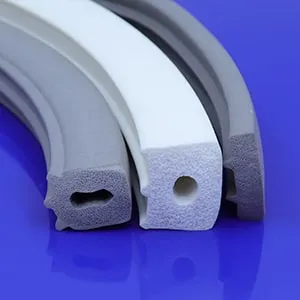
Silicone vs. plastic
Silicone and plastic dilators can both be effective, but they feel different in the body and that difference matters when you’re trying to create a calm, predictable experience; (if you’re evaluating options, you can see an example of a silicone set and sizing approach on JESilicone’s silicone vaginal dilators page). silicone is typically softer, slightly flexible, and often feels warmer and less “medical” in your hand, while plastic is firmer, holds its shape more rigidly, and may provide a more distinct stretching sensation. For some people, especially those who are sensitive, anxious, or starting dilator therapy because penetration has been painful, silicone’s softer feel can make the first steps less intimidating, while others prefer plastic because the firmness can make insertion direction feel clearer and the surface may glide differently depending on the lubricant used. When you’re deciding vaginal dilators how to use as a routine, your best option is the one that helps you stay relaxed enough to practice consistently.
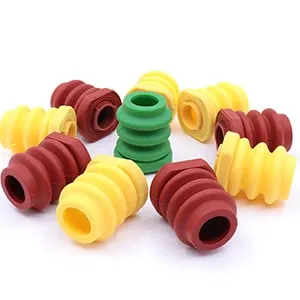
Graduated sets (progressive sizes)
Graduated sets are designed so you can progress in small increments, which is important because the pelvic floor and vaginal tissues respond better to gradual, repeatable exposure than to big jumps that trigger guarding. A typical set begins with a very small dilator and moves up in small steps until the largest size is closer to what you want to tolerate (like a speculum exam, a tampon, or penetrative sex), and the “success metric” isn’t just reaching the end—it’s being able to use each size with steady breathing, low fear, and minimal discomfort. If you’re learning how to use vaginal dilators for vaginismus, a set with more incremental sizes often makes the process feel more achievable because you can find the exact “stretch but not pain” level without feeling forced to leap.
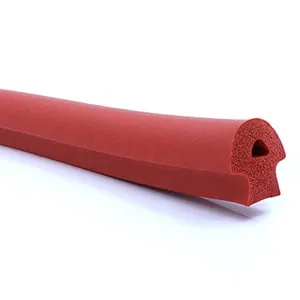
Differences in shape and flexibility
Not all dilators are shaped the same: some have a more tapered tip for easier entry, some have a uniform cylinder, some include a subtle curve, and most have a flared base to prevent over-insertion and to give you something stable to hold. Flexibility also varies—some silicone dilators are quite supple, others are firmer but still have some give—and that can influence both comfort and control, especially when you’re figuring out angles and how your body responds on different days. In general, a smooth surface, a rounded tip, and a reliable base tend to make “how do you use a dilator” less of a guessing game because you can focus on relaxation and pacing rather than struggling with grip or sharp transitions.
How do you choose a vaginal dilator?
You choose a vaginal dilator by matching the set’s starting size to what you can comfortably tolerate right now (not what you wish you could tolerate), making sure the set includes enough graduated sizes to progress gradually, and selecting a material and shape that helps you stay calm rather than braced. For many people, the smallest size is the make-or-break factor: if the first dilator feels too large, you may tense up before you even start, which makes the whole routine harder and can reinforce fear. If you’re working with a pelvic floor physical therapist, they can often recommend a starting diameter and teach technique so you can learn how to use dilators successfully without turning every session into a test; if you’re choosing on your own, look for a reputable set with clear sizing information, a flared base, and a smooth, nonporous surface designed for medical or therapeutic use.
How to prepare before using vaginal dilators
Choose the right dilator set
Preparation starts with selecting a set that feels doable, because confidence and consistency matter as much as the device itself; ideally, the set offers small incremental increases and a starting size that doesn’t trigger immediate panic or pain. If you’ve been told to use dilators after cancer treatment, surgery, menopause-related changes, or for pelvic pain, your clinician may have a specific size goal, but you still begin at the size that allows practice without sharp pain. For someone asking “how to use dilators for vaginismus,” it’s often helpful to choose a set that emphasizes comfort (often silicone) and includes many intermediate sizes, since gradual progress is what keeps the nervous system from flipping into a protective spasm.
Create a comfortable environment
A comfortable environment isn’t a luxury—it’s part of the therapy, because your body responds to safety signals; dimmer lighting, warmth, privacy, a locked door, and a plan for not being interrupted all help your pelvic floor soften. Have everything you need within reach (dilator, lubricant, towel, tissues, and optional mirror), and consider a short routine that tells your body it’s time to relax, like a warm bath, a heating pad on the lower belly, or two minutes of slow breathing. When people struggle with how to use dilators, it’s often not because they’re doing something “wrong,” but because the environment and mindset make the body brace before the first step even happens.
Use lubrication
Lubrication is essential because friction can feel like pain and can teach your body to guard, so use a generous amount on the dilator and around the vaginal opening, and reapply if anything starts to drag; simple patient instructions like University of Iowa Health Care’s vaginal dilator guidance also emphasize gentle technique and short, repeatable sessions. Water-based lubricants are commonly recommended as a safe starting point for most silicone products, and if you’re using a silicone dilator, check the manufacturer’s guidance before using silicone-based lubricant, since compatibility can vary by formulation. If you’re trying to figure out vaginal dilators how to use comfortably, one simple rule helps: if it doesn’t feel slippery enough, add more—because “dry insertion” turns a retraining exercise into a threat response.
How to use vaginal dilators: step-by-step guide
Step 1: Relax your body
Before you insert anything, spend a few minutes turning down your nervous system, because pelvic floor muscles often reflect what the rest of your body is doing: if your jaw is clenched and your shoulders are up, your pelvic floor may be bracing too. Try slow breathing with a longer exhale (for example, inhale for four, exhale for six), and as you exhale, imagine the pelvic floor “dropping” or “melting” rather than tightening; some people pair this with gently relaxing the belly and glutes, since gripping those areas can create pelvic tension. If you’re learning how to use vaginal dilators for vaginismus, this step is not optional—it’s the foundation for changing the reflex that causes involuntary tightening.
Step 2: Position yourself comfortably
Choose a position that allows your hips and belly to relax: many people start lying on their back with knees bent and feet supported, or on their side with knees slightly drawn up, and some feel more in control in a semi-reclined position with pillows behind the back. The “best” position is the one where you can breathe without strain and reach comfortably without twisting, because awkward positioning tends to create tension right when you need softness. If you keep wondering “how do you use a dilator without it feeling impossible,” changing the position is often the fastest fix—you’re not failing; your body is simply asking for a more supported setup.
Step 3: Insert the dilator gently
Apply lubricant, start with the smallest dilator that feels tolerable, and place the rounded tip at the vaginal opening; then, with a slow exhale, begin to insert at a comfortable angle (often slightly toward the lower back rather than straight up), moving only as far as you can while keeping the sensation in the range of mild pressure or stretching rather than sharp pain. If you hit a point where the muscles “push back,” pause there, keep breathing, and wait for the tension to soften before advancing, because forcing past a spasm teaches your body that penetration equals danger. This is the heart of how to use dilators successfully: go slowly enough that your nervous system can stay online, and treat every pause as part of the therapy rather than a setback.
Step 4: Hold and breathe
Once the dilator is inserted to a comfortable depth, hold it still and focus on slow breathing, letting the pelvic floor gradually relax around it; you may notice that what felt tight at minute one feels easier by minute five, and that’s exactly the adaptation you’re training. Many clinician-facing instruction sheets recommend a short, structured session: insert until it feels snug (not painful), then use slow breathing and gentle movement for several minutes before removing—see Cleveland Clinic’s vaginal dilator guide (2023) and MSKCC’s patient instructions on using a vaginal dilator for examples of common step-by-step routines. If you’re asking “how to use dilators” in a way that doesn’t spike anxiety, this step is where you build trust: you’re teaching your body that it can experience insertion and still stay safe.
Step 5: Gradually increase size
Progression works best when it’s based on repeated comfort rather than one “good day,” so stay with a size until insertion and holding feel consistently manageable, then move up one step and expect a temporary increase in stretch sensation that settles as you breathe. A useful rule is to aim for “mild stretch, not pain”: pressure, fullness, and gentle stretching can be normal, but burning, sharp pain, cramping, or bleeding are signals to stop and talk with a clinician. If you’re focused on how to use dilators for vaginismus, remember that moving up a size isn’t just a physical change—it can trigger fear, so it’s okay to repeat a smaller size first, then try the next size for only a short time, gradually extending as confidence grows.
Risks & Benefits
What are the benefits of vaginal dilators?
The benefits of vaginal dilators can include reduced pain with penetration, increased comfort during pelvic exams, improved tolerance of tampon use, and increased confidence and body awareness, especially when dilator work is paired with pelvic floor physical therapy and (when needed) counseling for anxiety or trauma. Physiologically, they may help tissues become more elastic and help muscles practice relaxing rather than guarding, and psychologically, they can help break the cycle where anticipation of pain leads to involuntary tightening which then causes pain.
What are the side effects of using a vaginal dilator?
The most common “side effects” of using a vaginal dilator are temporary discomfort, soreness, or a stretching sensation during or after a session, especially when you’re first starting or moving up a size, but dilator use should not cause sharp pain, tearing, or significant bleeding; if it does, that’s a sign to stop and seek medical guidance. Emotional side effects are also real—frustration, fear, or sadness can surface—because dilation involves both the body and the nervous system, and that’s particularly common when learning how to use dilators for vaginismus where anxiety and involuntary muscle tightening may be central. Practical safety points include using plenty of lubricant, never forcing insertion, choosing a size that matches your current tolerance, and checking with a clinician if you have persistent pain, signs of infection, new bleeding, or if your symptoms aren’t improving over time despite consistent practice.
References
Conclusion
Vaginal dilator therapy is often most effective when it’s treated like a calm, repeatable practice rather than a performance: prepare your space, use generous lubrication, start small, breathe through pauses, and progress by comfort—not by willpower—so your body learns that insertion can be safe and non-threatening. If you’re still wondering how to use vaginal dilators day to day, remember that most people see changes gradually, and it’s normal for progress to come in uneven steps, especially when you’re working on how to use dilators successfully for pelvic floor tension or how to use dilators for vaginismus; a pelvic floor physical therapist can make a big difference by teaching technique and troubleshooting pain patterns.
If you’re using dilators as part of a care plan, the safest next step is to align your routine with your clinician’s guidance so your schedule and size progression match your body and your goals.
For manufacturers: JESilicone offers OEM/ODM production for custom, medical‑grade silicone dilator products (including ISO 13485 quality management and FDA certificate).