How to Make Silicone Molds: The Complete Step-by-Step Guide
Introduction
Silicone molds have become an essential tool across industries and creative hobbies alike. Whether you're a product designer, baker, artist, or DIY enthusiast, silicone molds offer unmatched versatility and precision. Their ability to capture fine details, withstand extreme conditions, and be reused multiple times makes them the go-to choice for both professionals and beginners.
In this complete guide, you'll learn everything you need to know about silicone mold making—from understanding the materials to mastering the step-by-step process and avoiding common mistakes.
What Are Silicone Molds?
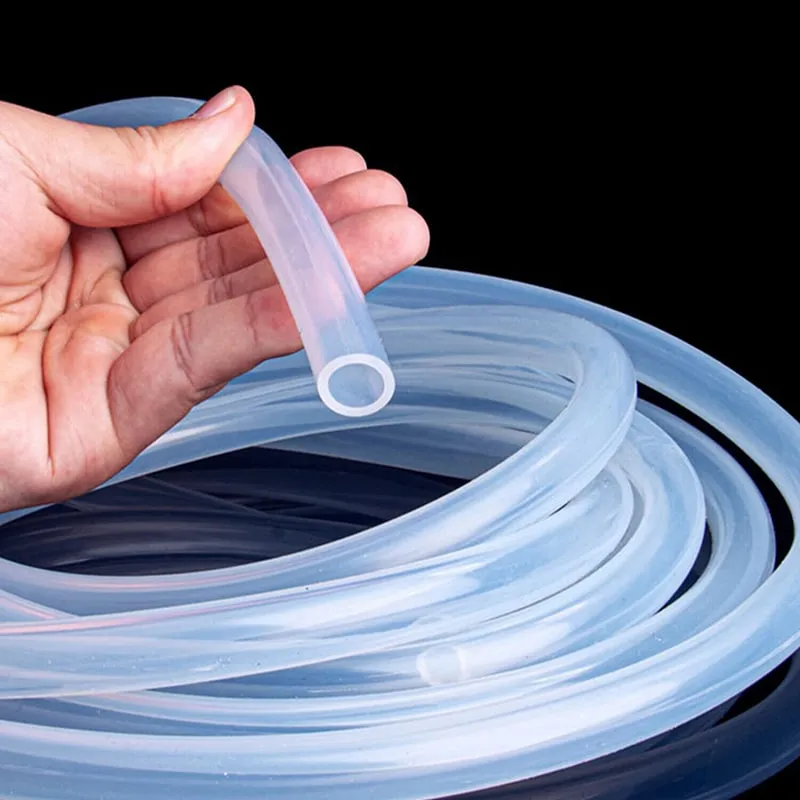
A silicone mold is a flexible negative cavity made from a cured silicone elastomer that reproduces the shape and surface texture of a “master” object; depending on the chemistry (commonly tin-cure/condensation or platinum-cure/addition systems), the mold can prioritize tear strength, dimensional stability, or compatibility with the material you want to cast.
Unlike rigid molds, silicone molds are soft and elastic, allowing easy demolding without damaging delicate designs.
Common Uses of Silicone Molds
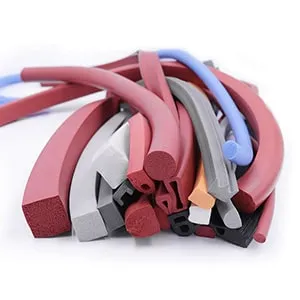
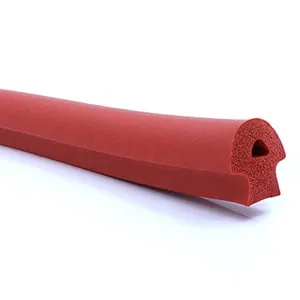
Silicone molds are used anywhere repeatable shape replication matters—ranging from low-volume prototyping and functional component trials to craft, baking, and DIY silicone molds—because the same mold geometry can be used to cast waxes, resins, soaps, urethanes, and (when the silicone is certified for the application) food-contact materials.
Why Choose Silicone for Mold Making
Silicone is often chosen for mold making because its elastomer structure balances flexibility (for release) with stability (for dimensional repeatability), and because many silicone formulations are available across hardness, tear strength, and cure chemistry—so you can select a system that matches your part geometry, surface detail needs, and production volume.
Flexibility
Flexibility is what makes silicone a practical mold material: it can deform around small undercuts and then return to shape, which reduces the need for complex tooling in early-stage replication and lets you demold fragile cast parts with less mechanical prying.
Stability
Dimensional stability is critical when the mold needs to reproduce tight features or assembly fits, and platinum-cure systems are often selected for lower shrinkage and longer-term stability compared with tin-cure systems; if your application depends on exact dimensions, treat the silicone’s technical data sheet (TDS) as part of the process plan rather than an afterthought.
Durability
Durability in silicone mold making depends on tear strength, wall thickness, and how aggressively you demold; thicker mold walls and controlled parting lines reduce stress concentration, while selecting a silicone grade designed for repeated casting helps prevent early tearing in thin sections.
Heat and Chemical Resistance
Many silicone elastomers tolerate higher temperatures and a broader range of chemicals than common plastics, but resistance still depends on the specific formulation and what you cast; when in doubt, confirm compatibility with the silicone supplier’s guidance and avoid exposing molds to solvents or aggressive cleaners that can swell or embrittle elastomers over time.
Reusability
Reusability is one of the biggest reasons to learn how to make a silicone mold correctly: when the mix ratio, cure, and handling are controlled, the same tool can produce multiple identical parts, and the per-part cost drops quickly compared with one-off forming methods.
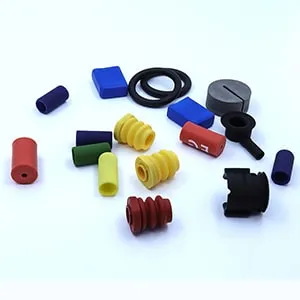
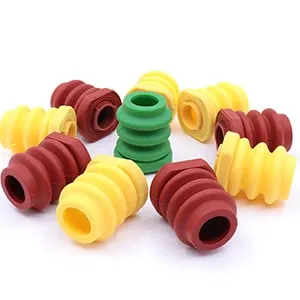
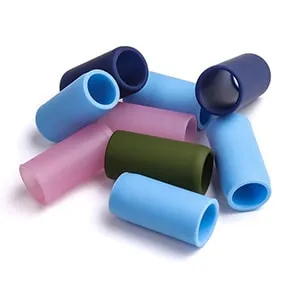
Common Uses for Silicone Molds
Silicone molds serve a wide range of industries because they can replicate complex geometry without high tooling cost, and because the mold can be tuned for the casting medium—soft for easy release, or firmer for dimensional control—making silicone a practical bridge between early prototypes and scaled manufacturing.
Prototyping
In prototyping, silicone molds let teams evaluate form, fit, and even limited functional behavior (depending on the casting compound) without waiting for hard tooling, and they’re especially useful when you need to iterate the master quickly and validate changes with a small batch of cast parts.
Consumer Goods
For consumer goods, silicone molds enable short runs of parts with consistent surface finish—useful for pre-production samples, color trials, and early market tests—while preserving detail that would be expensive to machine repeatedly into rigid tooling.
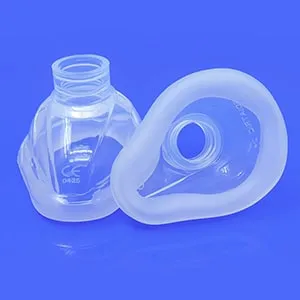
Food and Beverage
In food and beverage applications, molds must use food-grade silicone and be handled in a way that avoids contamination and unintended residues; treat “food safe” as a material qualification plus a process requirement (cleaning method, storage, and intended temperature range), not just a generic label.
Candle making
Candle making benefits from silicone’s release properties and heat tolerance, but success depends on venting and wall thickness: thin fins can tear during demolding, and trapped air can show up as surface pitting—so you’ll get cleaner results when the mold geometry supports smooth fill and controlled release.
Baking and chocolate molds
For baking and chocolate molds, choose silicone specifically rated for food contact and the temperature range you’ll use, and avoid using molds that have been in contact with non-food casting chemicals; this separation is a simple control that prevents cross-contamination and protects both product safety and mold lifespan.
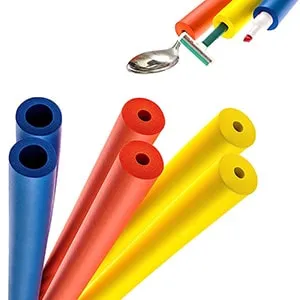
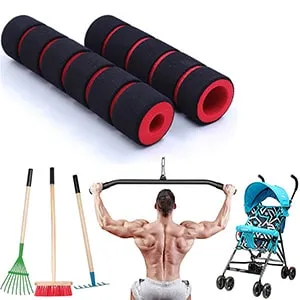
DIY Projects
For DIY projects, silicone can replicate custom knobs, figurines, small fixtures, and repair parts, but the same industrial fundamentals apply: stable mold box, accurate weighing, and careful pouring are what separate reliable DIY silicone molds from one-time molds that tear or cure tacky.
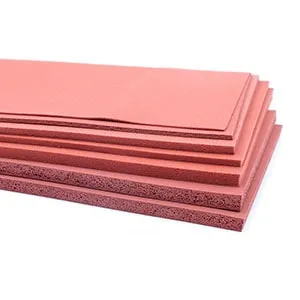
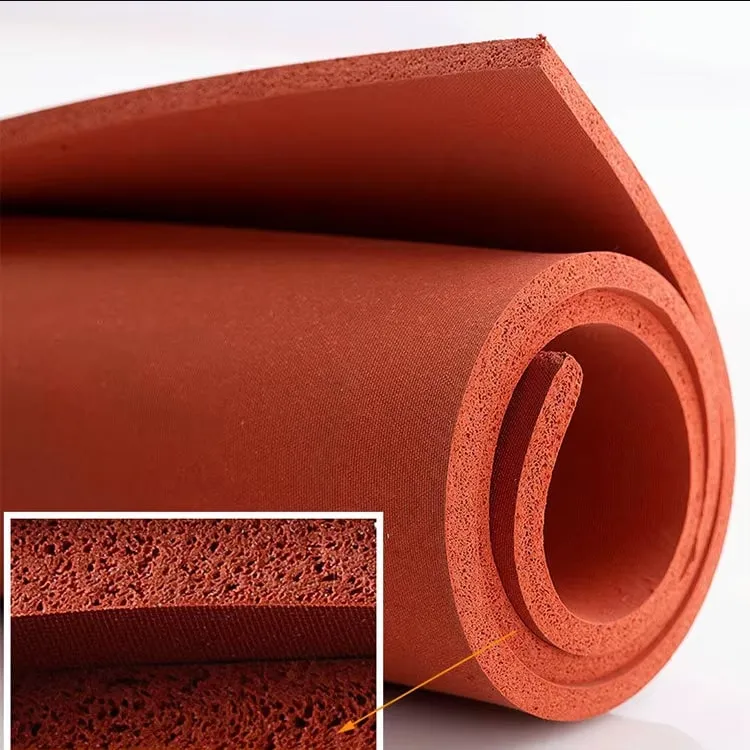
Types of Silicone Used for Mold Making
Choosing the silicone is not just a price decision; it’s a risk decision that affects cure reliability, shrinkage, and compatibility with your master and casting materials—so the simplest way to reduce rework is to match the silicone chemistry to the application before you mix anything.
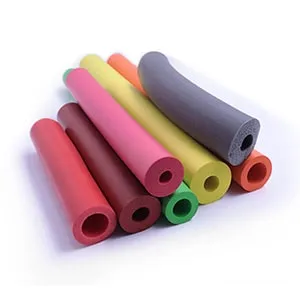
Food-Grade Silicone
Food-grade silicone is formulated and documented for food-contact use (when handled per the supplier’s guidance), making it the appropriate choice for baking and confectionery molds; to stay compliant, keep food-contact molds segregated from shop chemicals and follow cleaning and storage practices that don’t introduce residues.
Medical-Grade Silicone
Medical-grade silicone is used for regulated products where biocompatibility and traceability matter, but it should be selected and processed under documented controls aligned with the product’s regulatory pathway; for mold making, treat “medical grade” as a specification and documentation requirement rather than implying any medical performance outcome.
Liquid Silicone (LSR)
Liquid silicone rubber (LSR) is commonly processed via injection molding in production environments, and while LSR itself isn’t the same thing as a pourable RTV mold-making silicone, understanding LSR helps when you’re translating prototype geometry into scalable tooling and deciding which features need tighter control before moving to high-volume manufacturing.
Normal-Grade Silicone
Normal-grade (general-purpose) silicone is often used for non-food, non-medical molds in prototyping and craft contexts, but performance varies widely, so the safe approach is to pick a reputable system, measure precisely, and run a small compatibility test if the master material or casting resin is unknown.
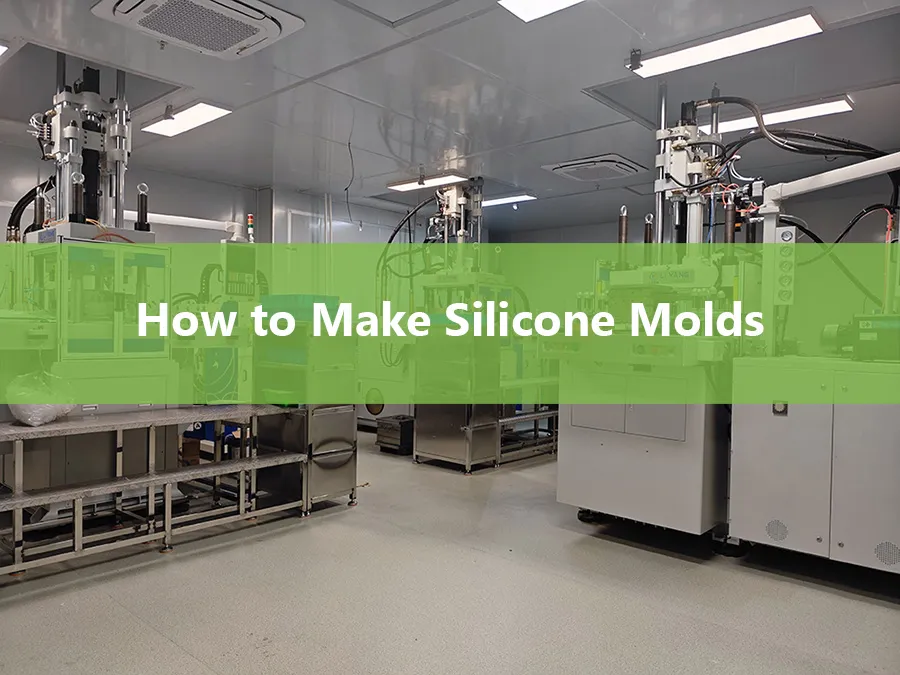
How to Make Silicone Molds: Step-by-Step Process
The fastest way to learn how to make silicone molds without wasting material is to treat the workflow like a repeatable process: control your master surface, control your mix ratio, control your bubble management, and only demold after full cure—principles that align with manufacturer-backed mold-making basics such as Smooth‑On’s mold making tutorials.
Step 1 – Prepare Your Master Object
Prepare the master by removing dust, oils, and any uncured surface residues (especially on 3D prints or painted parts), then decide whether you need a sealant or mold release based on porosity and geometry; you’re “done” when the surface is clean, dry, and stable, because any contamination can print into the mold surface or, in the worst case, interfere with cure on sensitive platinum-cure systems.
Step 2 – Build a Mold Box or Container
Build a rigid, leak-free mold box with enough clearance for consistent wall thickness around the master, secure the master so it can’t float, and seal seams so silicone doesn’t escape; you’re “done” when the assembly is level, the master is fixed, and you can add silicone to reach a practical wall thickness without risking thin weak spots that tear during demolding.
Step 3 – Mix the Silicone Properly
Mix strictly to the supplier’s specified ratio (often by weight) using a clean container and a deliberate folding motion to avoid whipping in air, scraping the sides and bottom until the color/consistency is uniform; you’re “done” when there are no streaks and you’re still inside pot life, because—as manufacturer guidance emphasizes—insufficient mixing is one of the most common reasons silicone stays soft or uncured.
Step 4 Pour Silicone Slowly to Avoid Air Bubbles
Pour in a thin, steady stream into one corner or the lowest point and let the silicone rise around the master rather than pouring directly onto fine details; you’re “done” when the master is fully covered with adequate thickness and visible trapped air is minimized, and if surface detail is critical, use controlled vibration or vacuum degassing (where available) to reduce bubbles before curing.
Step 5 – Let the Silicone Cure
Let the mold cure undisturbed for the full time in the technical data sheet at the recommended temperature, avoiding premature demolding that can permanently deform edges; you’re “done” when the silicone is fully elastomeric (no tacky areas, consistent firmness), because partial cure can make the mold tear or leave residue on the master.
Step 6 – Demold and Finish
Demold by peeling the silicone away slowly and evenly, trimming flash only if needed, and for multi-part molds, separate along the parting line without stretching thin sections; you’re “done” when the mold releases cleanly, the cavity surface is intact, and you can run a first casting with an appropriate release agent if the casting material tends to stick.
Different Methods for Making Silicone Molds
There’s more than one correct way to how to create silicone molds, and the best method depends on part geometry, undercuts, and how you plan to cast; the key is choosing a method that controls parting lines, supports air evacuation, and keeps stress off delicate mold features during demolding.
One-Part Open Molds
One-part open molds are the simplest option for flat-backed parts because you only pour once and demold from the open face; they work best when the part has a natural “open” side and minimal undercuts, and they’re often the quickest route from master to usable mold for small runs.
Two-Part Silicone Molds
Two-part silicone molds are used when the geometry requires a closed cavity or the part has undercuts that would lock into a one-part mold; success depends on a clean parting line, registration keys, and using release between halves so they separate predictably, which reduces tearing and improves repeatability.
Brush-On Silicone Molds
Brush-on silicone molds apply silicone in layers over a master (often with a support shell), reducing material use for large shapes; the critical control is achieving uniform thickness and eliminating trapped air in the first detail coat, because thin spots become failure points after a few demolding cycles.
Block Molds vs Glove Molds
Block molds are solid pours that favor rigidity and dimensional stability, while glove molds are thin “skins” backed by a mother mold to save material; for high repeatability and less distortion, block molds are often more forgiving, while glove molds can be efficient when size makes a full pour impractical.
Tips to Avoid Common Mistakes
Most problems in silicone mold making trace back to three variables—contamination, measurement, and air management—so the best “tips” are really controls: keep materials clean, follow ratios, and pick pouring/degassing methods that fit the geometry.
How to Prevent Air Bubbles
Prevent bubbles by mixing slowly, degassing when you can, and pouring in a thin stream that lets silicone flow around features; Formlabs specifically recommends narrow-stream pouring and using vibration to help bubbles rise out in its guide “How to Make Silicone Molds”, and the practical test is simple: if your first cast shows pitting on high points, you likely trapped air on those details during the pour.
Proper Mixing Ratios and Timing
Use a scale when the supplier specifies weight ratios, track working time (pot life) so you don’t pour material that has started to thicken, and use a “double mix” approach (transfer to a second cup and mix again) when cure reliability is critical; the success criterion is uniform mix with no streaking and a pour completed well before viscosity rises.
Avoiding Sticky or Uncured Silicone
Sticky or uncured zones usually mean wrong ratio, insufficient mixing, temperature mismatch, or cure inhibition—especially with platinum silicones where contaminants can “poison” the catalyst, as described in TECHSiL’s technical guide to cure inhibition; when the risk is high (unknown clay, latex, certain coatings), run a small test cure on the master surface first.
Choosing the Right Mold Release
Choose a mold release that’s compatible with both your silicone and your casting material, apply it lightly, and let it dry before pouring or casting; release is most useful on porous masters, complex textures, and two-part molds where silicone-to-silicone separation is required for clean demolding.
Safety Tips When Mold Making
Even when materials are labeled “low odor” or “easy to use,” safe practice means treating all chemicals as controlled inputs: read the SDS, manage ventilation, use protective equipment, and store materials properly so you don’t compromise either safety or cure consistency.
Proper Ventilation
Work in a well-ventilated area and avoid prolonged exposure to vapors from silicones, resins, and solvents used for cleaning masters; ventilation is also a quality control step because it reduces accidental contamination and supports predictable curing conditions.
Skin and Eye Protection
Wear nitrile gloves and eye protection during measuring, mixing, and pouring, and avoid skin contact with uncured materials and cleaning solvents; the practical “done” check is that you can complete the full mix-and-pour without touching the master, mixing stick, or workbench with unprotected skin.
Safe Storage of Materials
Store Part A/B sealed per the manufacturer’s guidance, away from heat and moisture, and keep lids and tools clean to avoid cross-contamination that can reduce shelf life or cause cure issues; good storage discipline also makes your next mold more repeatable because you’re starting from stable materials.
How Long Do Silicone Molds Last?
Silicone molds can last from a handful of casts to many cycles depending on silicone grade, geometry, casting chemistry, and handling, so the practical approach is to design for longevity (adequate wall thickness, controlled demolding) and treat the mold as a consumable tool with maintenance requirements rather than a permanent asset.
Factors That Affect Mold Lifespan
Lifespan is shortened by thin sections, aggressive undercuts, repeated stretching, heat exposure beyond the silicone’s rating, and casting materials that stick or chemically attack the elastomer; you’ll typically get better longevity when the mold’s parting strategy reduces strain and when release agents are used appropriately for difficult casting media.
How to Maintain and Store Silicone Molds
Clean molds with mild soap and water (or per supplier guidance), dry thoroughly, store flat without heavy objects compressing them, and keep them away from dust and UV/heat; if you’re running repeated casts, a consistent cleaning-and-release routine helps preserve surface finish and reduces tearing at edges.
Conclusion
Silicone mold making is a powerful skill that opens the door to endless creative and industrial possibilities. From crafting beautiful handmade items to producing precise prototypes, silicone molds offer flexibility, durability, and exceptional detail reproduction.
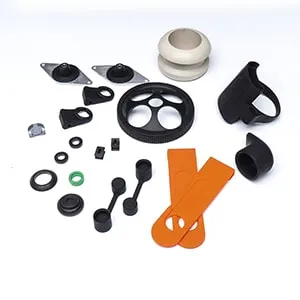
If you need to turn prototypes into repeatable production silicone parts, JESilicone supports OEM/ODM programs across extrusion, compression molding, and LSR injection molding, with 20+ years of experience and 10,000+ successful cases; share your drawing/spec and application constraints to align material selection, tooling, and quality documentation early.